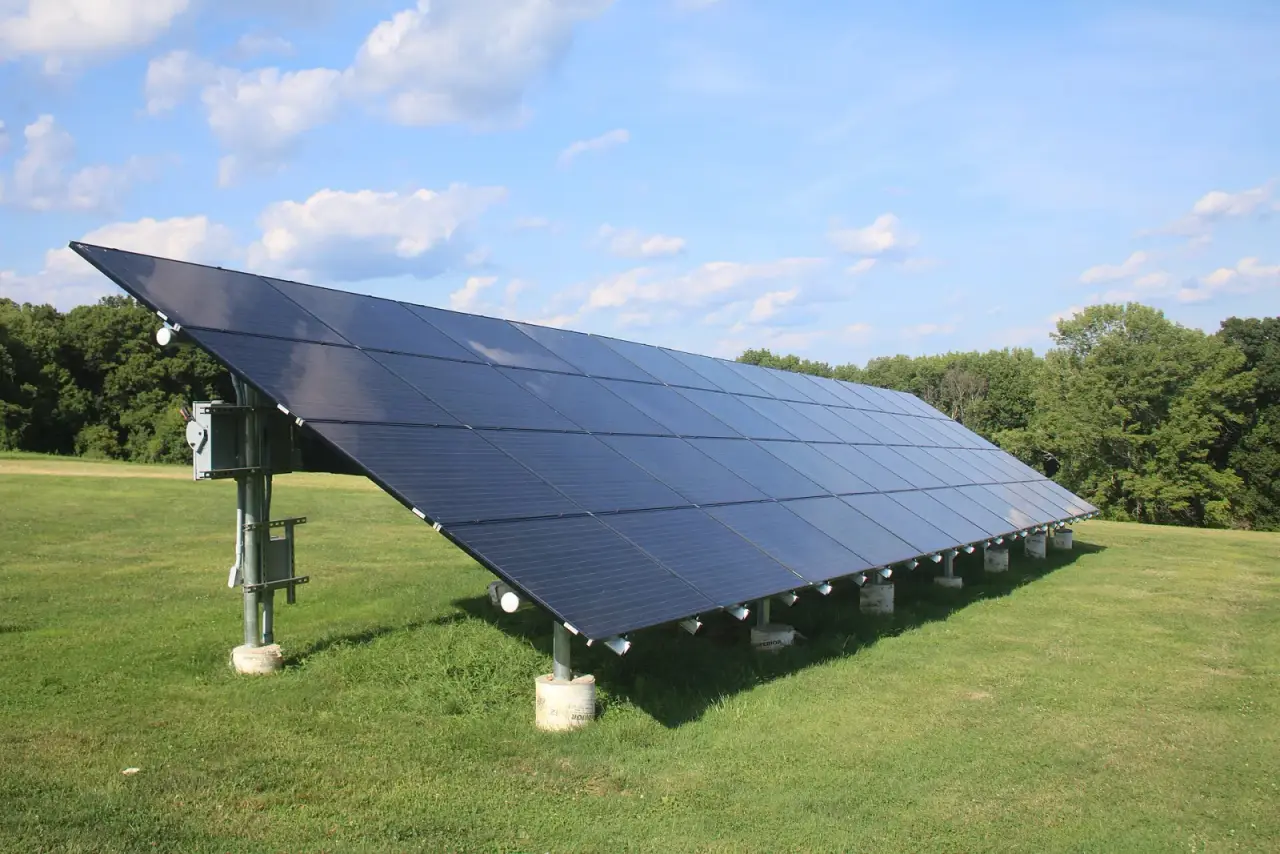
A solar ground mount installation comes down to three jobs: set a row of foundations, bolt a steel racking frame to them, and mount and wire the panels. The foundation is the part people think about least, and it’s the part that decides whether the array is still square in ten years. In Colorado that means getting below the frost line, holding down a big flat surface against wind uplift and snow, and dealing with clay that swells.
This article covers residential and small-acreage arrays: a few dozen panels behind a house, on a horse property or beside a shop. For larger commercial and solar-farm projects, see our posts on why helical piles suit solar foundation construction and ground stability challenges in solar foundations.
How a solar ground mount installation goes, step by step
- Site layout. The solar designer picks the location for sun exposure, distance to the electrical panel and setbacks. The IRC leaves fire separation distances for ground-mounted PV to the local jurisdiction (R329.8.1), so ask the building department early.
- Locates. Call Colorado 811 before anything goes in the ground. Also mark private lines the utility won’t locate: well lines, septic, irrigation and buried feeds to outbuildings.
- Structural design. Under Denver’s residential code, ground-mounted PV systems are designed and installed under Section R301, which covers structural loads such as wind and snow (R329.8). The racking manufacturer or an engineer produces post spacing and the load at each foundation.
- Foundations. Concrete piers, driven posts or helical piles go in at the engineered spacing and depth.
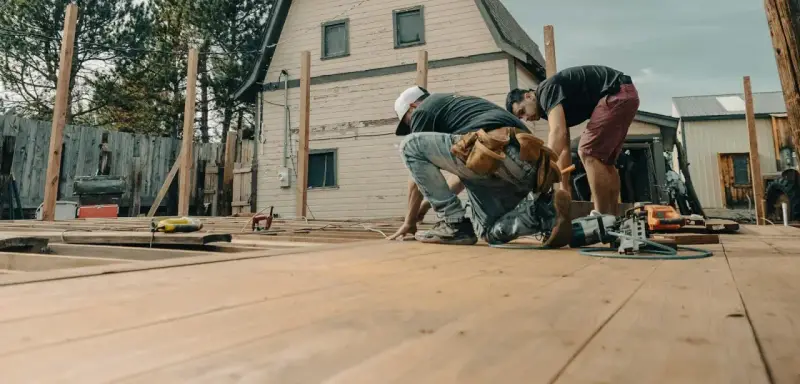
- Racking. Posts, rails and bracing are set, squared and leveled. This is where foundation accuracy shows. Posts that are out of line make the racking crew’s day long.
- Panels and wiring. Modules are clamped on, and the electrician trenches conduit to the house or service.
- Inspections. Typically a structural or foundation inspection and an electrical inspection, then the utility interconnection. Check your jurisdiction’s list.
Why ground mounts are an uplift problem
A house mostly pushes down on its foundation. A ground-mounted array is a light frame holding up a large tilted surface, and the main loads on its foundations are wind trying to lift and overturn it, plus snow pushing down on the panels.
Colorado gives you plenty of both. Denver’s residential code lists a 43 psf ground snow load and wind design speeds of 115/125/140 mph in Table R301.2, and mountain and plains sites can be different. The Department of Energy’s Federal Energy Management Program (FEMP) tells designers of cold-climate arrays to account for snow and wind loads together, since those hazards often occur together.
That means each foundation needs real tension capacity, not just bearing. A post sitting in a shallow concrete plug or a block on the ground can carry the weight of the array. It may not hold when the wind gets under it.
Frost and swelling clay under a solar array
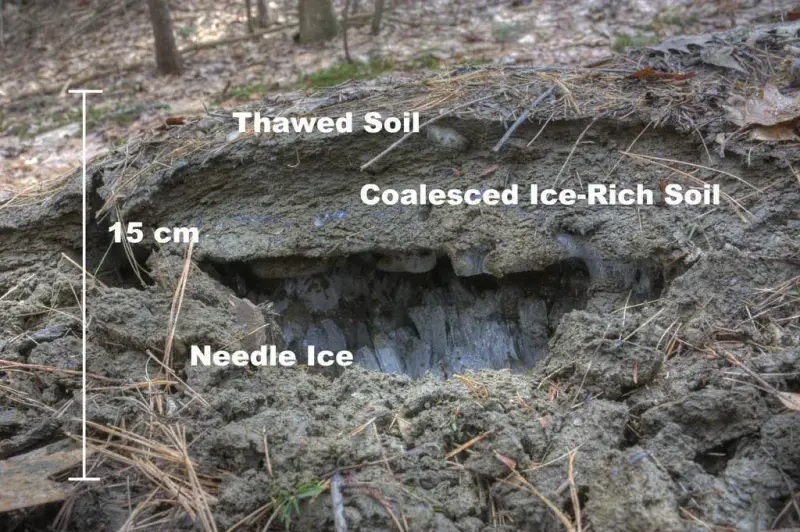
Frost is the slow failure mode. FEMP’s winter-weather guidance warns that as ground freezes and thaws, foundations can work their way up out of the ground, and that pile depth should extend significantly below the frost depth. It also notes that frost heave isn’t covered by ASCE 7, so the designer has to address it directly, and recommends firms with cold-climate PV experience run frost heave calculations.
The code requirement is plainer. Under R403.1.4.1, piers and other permanent supports of structures must be protected from frost, typically by extending below the frost line. In Denver that’s 36 inches. Other jurisdictions set their own depth, so check locally.
Then there’s clay. The Colorado Geological Survey describes expansive clays that can swell up to 20 percent by volume when wet and push with pressures of 20,000 pounds per square foot or more. A lightly loaded solar post in that clay can be jacked up unevenly, which twists the racking and stresses module frames. An irrigated lawn or a downspout near the array makes it worse. Our article on Colorado soil conditions has more on the soils.
Ground mount foundation options compared
| Concrete piers | Driven posts | Helical piles or ground screws | Ballasted blocks | |
|---|---|---|---|---|
| How it works | Augered hole, form tube, post set in concrete | Steel post hammered into the ground | Steel shaft with helix plates screwed in with a hydraulic drive head | Heavy concrete blocks or trays sitting on the surface |
| Uplift resistance | From concrete weight and shaft friction | From soil friction along the post | From helix plates bearing on soil below | Weight only |
| Frost and swelling clay | Works if deep enough; the shaft can still be gripped by swelling clay | Depends on depth and soil grip | Helix set below the frost and active zone | Moves with the ground surface |
| Cobbles and rock | Auger can handle some | Prone to refusal | Prone to refusal; may need pre-drilling | Not an issue |
| Schedule | Dig, pour, wait for cure, then rack | Fast once equipment is on site | Fast; racking can start the same day | Fast, but needs heavy deliveries |
| Spoils and mess | Dirt piles and concrete truck access | Minimal | Minimal | Minimal |
| Capacity check | Engineering calculation | Usually a pull test | Installation torque logged for every pile | Calculation |
For most Colorado homeowners the choice is between concrete piers and helical piles. Driven posts are common on utility-scale farms with large pile-driving rigs. Ballast suits sites where you can’t penetrate the ground, such as a capped landfill, and is rare on residential lots.
Where helical piles fit a ground mount
Helical piles answer the three Colorado problems directly. The helix plates are installed below the frost line and the swelling layer, where they resist both uplift and compression. Every pile is installed with torque monitored, so you have a record showing each one reached the capacity the design called for. That’s the same torque-to-capacity correlation that ICC-ES AC358 uses to evaluate helical piles for building-code use.
Two design points matter for solar:
- Tension depth. AC358 and manufacturer evaluation reports such as ESR-2794 require the top helix of a tension pile to sit at least 12 times the largest helix diameter below grade, unless an engineer sets a site-specific depth that the building official approves. A pile with an 8-inch helix, under that rule, needs its top helix at 8 feet. On a ground mount, uplift often controls, so this rule can set the pile length.
- Coating. Galvanized steel is standard. AC358 places very corrosive soils (resistivity below 1,000 ohm-cm, pH below 5.5, sulfates above 1,000 ppm) outside the scope of standard listings, so check the soils data on unusual sites.
Practical upsides on a residential job: no concrete truck crossing the yard, no open holes for kids or livestock, and the racking crew can start once the piles are logged instead of waiting on a cure. Helical piles also adjust to grade more easily on a sloped pasture than formed piers.
They’re not right everywhere. Shallow bedrock and dense cobbles can stop a helix short of depth, and pre-drilling or a concrete alternative may be needed. A site visit and a look at any soils data should come before anyone promises a foundation type.
Before you sign a ground mount contract: a checklist
- Ask who designs the foundation and what loads it’s designed for (wind uplift, snow, frost).
- Confirm the foundation depth is below your local frost line and, on clay, below the swelling layer.
- For helical piles, ask for the installation torque log for every pile.
- Find out the fire separation or setback rules from your building department.
- Plan the trench route for conduit before foundations go in.
- Keep sprinklers and downspouts away from the array foundations.
- In heavy-snow areas, follow FEMP’s advice to keep the bottom panel edge at least two feet above the maximum normal snow depth.
- Check with your local building department on permit and inspection steps. They vary across Colorado counties and towns.
Getting the foundation right
Site Safe Helical Piers installs helical piles for solar ground mounts, homes, additions, decks and commercial projects across Denver and the Colorado Front Range. We work with your solar installer or engineer, install to the depth and torque on the design, and hand over the installation log. See our services or contact us, or call 970-673-5615.